Buick Enclave: Floor Mats
 WARNING
If a floor mat is the wrong size or is not properly installed, it can interfere
with the accelerator pedal and/or brake pedal.
Interference with the pedals can cause unintended acceleration and/or increased stopping distance which can cause a crash and injury. Make sure the floor mat does not interfere with the pedals.
Use the following guidelines for proper floor mat usage.
► The original equipment floor mats were designed for your vehicle. If the floor mats need replacing, it is recommended that GM certified floor mats be purchased. Non-GM floor mats may not fit properly and may interfere with the accelerator or brake pedal. Always check that the floor mats do not interfere with the pedals.► Use the floor mat with the correct side up. Do not turn it over. ► Do not place anything on top of the driver side floor mat. ► Use only a single floor mat on the driver side. ► Do not place one floor mat on top of another.
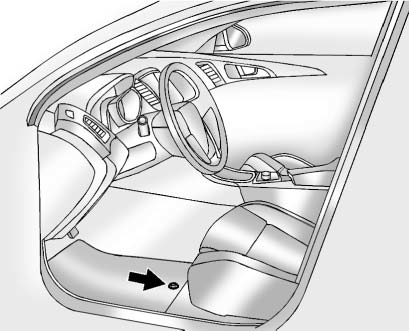
Button Retainer
Floor mats with a button-type retainer.

Removing and Replacing the Floor Mat
1. Pull up on the rear of the mat to unlock and remove.
2. Reinstall the floor mat by lining up the floor mat openings over the carpet retainers
and snapping into position.
3. Make sure the floor mat is properly secured and verify that it does not interfere
with the pedals.
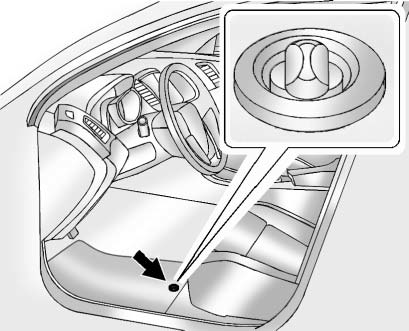
Knob Retainer
Floor mats with a knob retainer.

Removing and Replacing the Floor Mat
1. Turn the knob until it is aligned with the slot in the floor mat grommet.
2. Pull up on the floor mat.
3. Center the slot in the floor mat grommet with the knob on the floor and set into
position.
4. Turn the knob until it is perpendicular to the slot in the grommet to lock the
mat in place.
5. Make sure the floor mat is properly secured and verify that it does not interfere
with the pedals.

